
A vital component of maintaining and enhancing any building is wall repair. Walls may require repairs due to deterioration, structural problems, or aesthetic concerns over time. Knowing how to repair walls is crucial, whether you’re dealing with water damage, cracks, or just want to update the look of your walls.
Repaired walls effectively preserve the structural integrity of your building while also improving the appearance of your area. Every kind of wall problem calls for different methods and supplies, from covering small imperfections to resolving significant structural problems. Determining the best course of action for repairs requires an understanding of how to locate the source of the damage.
The techniques and materials used for repair can differ greatly depending on the type of wall material, such as concrete, brick, plaster, or drywall. Every material has unique properties and weaknesses that affect the best way to approach repairs. Effective preparation is essential for successful repairs, and this includes cleaning and determining the extent of the damage.
Professionals and do-it-yourselfers alike can gain from knowing the fundamentals of wall repair. Commonly, simple repairs like patching tiny holes or cracks can be completed with a few simple tools and supplies. To make sure the issue is handled completely, speaking with a professional may be required for more complicated problems like water infiltration or structural cracks.
- What are the walls??
- Repair stages
- Cleaning
- Drying and disinfection
- Plaster
- Lathing
- Sheathing and cladding
- Procedure
- Assessment of the condition of surfaces
- Removing old coating
- Elimination of defects
- Alignment of walls
- Video on the topic
- ✅ GORGEOUS AND DURABLE DIY WALL FINISHING FROM LAMINATE IN 1 DAY
- An interesting renovation solution (laminate wall) Boyko Reuben | Wall decoration
What are the walls??
Internal walls serve as partitions, dividing the space into distinct rooms or zones. Self-supporting and load-bearing are the two categories. Since the former support the weight of the house structure, any redevelopment involving them needs special permission from the appropriate authorities. Partitions are considerably simpler to work with; you can move, remove, partially eliminate, make an opening, etc.
One of the following techniques should be used to determine which walls can be worked with and which are load-bearing:
- get acquainted on the Internet with the database of load-bearing walls of standard series of houses – panel and block houses were previously built according to a standard scheme;
- thickness measurement in a panel house: partitions – 80–100 mm, load-bearing – 140–240 mm;
- if the house is brick, then the size will be a multiple of the size of the brick: 120 mm × 2 + thickness of the vertical seam (on average 10 mm) + thickness of the finishing layer – thus, the thickness of the load-bearing surface starts from 380 mm and above;
- invite specialists who will independently take measurements.
Crucial! Plasterboard covering, a layer of plaster, and other finishing techniques affect the wall’s thickness in a home. Thus, in the event that the apartment has undergone prior renovations, the thickness of the "treatment" is established prior to measurement.
Wall types are always taken into consideration because they have a direct impact on the kind of intervention that is allowed with respect to a given surface.
Repair stages
If the entire apartment is being worked on, the partitions won’t start until the floor and ceiling are restored (the frame has been built, and the last layer of cladding is still in place). This is required to remove uneven joints caused by paste baguette, wallpaper, tiles, etc. There are distinct stages to the entire process.
Cleaning
All layers are removed from the walls at this point down to the concrete (brick, block, etc.) in order to prepare them for further work. Personal protective equipment, such as gloves, goggles, closed-clothing, and a respirator, is required for this procedure. In order to get rid of construction dust, ventilation or airing is also advised.
When priming the walls of the space for wallpaper application, you ought to follow these guidelines:
- an abrasive mesh is attached to a wooden block (500×100 mm), which is used to clean it – a drill with a cord brush creates a lot of unevenness;
- if the old plaster or paint is not completely removed, the new wall treatment will not last long – the layers will quickly begin to lag behind the surface;
- when water-based wallpaper is planned, gypsum plaster cannot be used to level the surface.

The walls are liberally moistened with water to facilitate the removal of old plaster, and the room (including the windows) is then closed. This coating is easily removed with a wide metal spatula after a day. And here, a drill equipped with a cord brush is used to remove the leftovers.
Cleaning is done up to the point where, depending on the material of the house’s walls, either brickwork or a concrete monolith emerges.
Drying and disinfection
The surfaces must air dry once the old coating has been removed. They are kept in a ventilated area for a few days in order to accomplish this. However, this does not ensure that the lowest layers will become dry.
At this point, using a hair dryer is preferable. These tools are available for purchase or short-term rental from specialized businesses. The thickness of the masonry affects how long it takes to dry.
Suggestions. A small piece of film should be placed on the surface and left overnight to check for moisture. More drying is needed if the film still has moisture droplets on it in the morning.
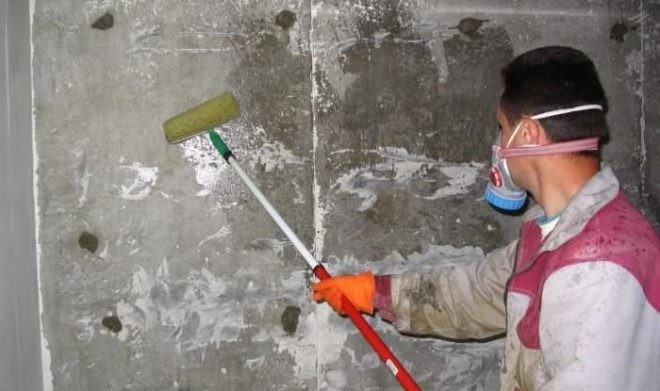
Subsequently, a deep penetration primer containing biocidal additives is applied to the old wall. Polyurethane foam is used to fill the spaces created by the plate seams. Once the material has solidified, trim any excess that sticks out above the surface with a knife.
Plaster
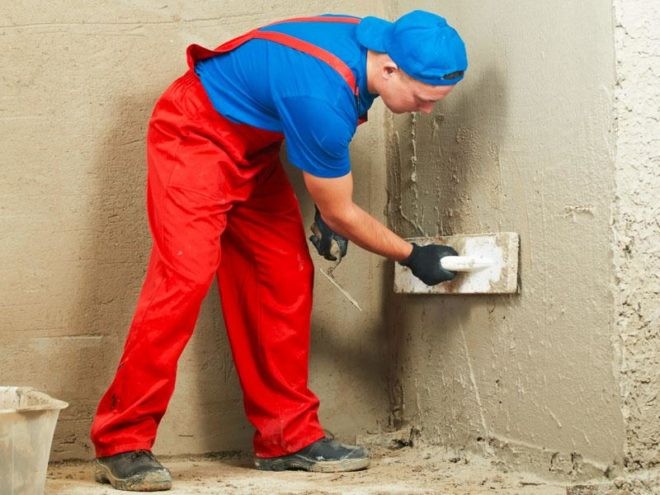
Use plaster to level uneven walls. Surface-mounted beacons are positioned and adjusted with the aid of a building level. Beginning with the room’s corners, arrange the furniture.
There are two steps involved in wall preparation:
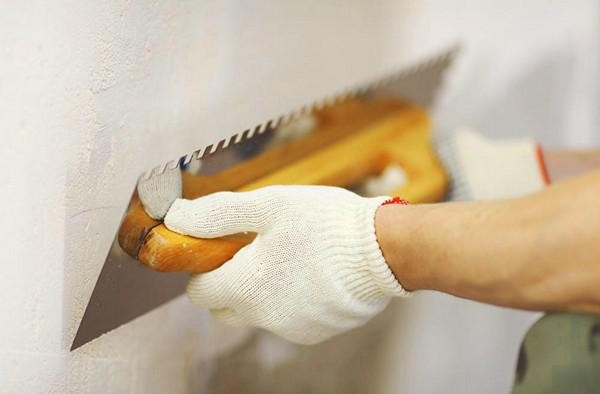
- Applying starting putty. Use cement-based material. The packaging contains instructions on how to prepare the mixture. It is recommended to prepare in portions, that is, not for the entire room at once, but separately for each surface. The mixture is applied with a spatula to areas separated by beacons, from bottom to top. If the corners in the room are even (90 degrees), then they are processed with the angle of the tool. Otherwise, it is recommended to use a special triangular spatula.
- Applying finishing putty to the walls. Apply only after the first layer has completely dried. This mixture is white because the base is gypsum. Covering the walls is done in 1 mm, since a larger layer will begin to fall off. If you need to level the surface, then the mixture will have to be applied in several passes.
Lathing
You will require a U- and C-profile in order to create such a design. Although wood (timber, 40 x 80 mm) is also acceptable, its useful life is shortened. Objectively speaking, unlike ceiling structures, no kind of wall—load-bearing or partitioning—takes on such a heavy load. Consequently, the lathing is done more to provide sound and noise insulation to the room than it is to strengthen it.
Foam plastic slabs are inserted into the frame’s cells because they are a material that holds its properties and shape well over time. However, the insulating mat quickly settles due to the force of its own weight. The sheathing is immediately covered with electrical wiring and communications (phone, Internet, etc.). However, power cables need their own kind of protection.
Pay heed. By using lathing, you can conceal uneven walls and reduce the need for leveling. However, the usable area is "eaten up" by this design, making the room smaller.

Sheathing and cladding
Making a sheathing is essential if the wall cladding is made of tile material. All of these materials need a base: laminate, MDF, plastic lining, wood slats and panels, drywall. You can skip the frame when it comes to whitewash, wallpaper, stone, or tiles.
Once the wall has been prepped and smoothed, you can apply wallpaper or whitewash over it. First of all, these materials are fairly inexpensive, and secondly, the rooms’ lighting will remain unaffected if the right colors are chosen. Since these materials don’t require any specialized knowledge or equipment, working with them is fairly simple.
Should the initial wall preparation prove ineffective in eliminating any irregularity exceeding 0.3 centimeters, solid materials ought to be used for the cladding. The elements can be connected to one another through the recesses at the ends of each lamella, making installation fairly easy. This method also enables partial wall cladding repairs. All you have to do is take out the top plinth, take out the damaged slab, and install a new one in its place.
However, a more substantial foundation is needed for porcelain stoneware or tiles used for wall cladding. Gypsum plaster, for instance, is unable to support such a weight. Therefore, enhanced mixtures are selected with this final coating. Furthermore, a perfectly level base surface is necessary for decorative wall cladding, so the leveling process must be handled carefully. Plasterboard bases are also unsuitable for this cladding option due to its considerable weight. Soon, that same metal frame will start to bend.
Door and window frames are installed to complete the wall cladding. Installing the floor and ceiling plinths is the final step.
Procedure
Working with new surfaces is always simpler than restoring them. If avoiding repairs is not an option, then a specific algorithm must be followed when performing the work. Every action will produce a genuine support in addition to updating the surface.
Assessment of the condition of surfaces
The depressing state of secondary market housing is well-known. A lot of people choose to purchase a cheap apartment and make their own repairs. Even in situations where the walls are incredibly uneven, this choice is usually warranted.
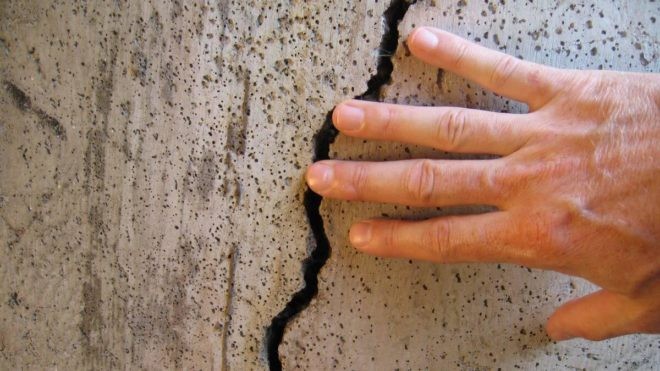
Assessment of surfaces includes an analysis of differences (in old houses they can reach 10-15 cm), the presence of cracks and chips. It is also important to assess the reliability of the foundation. If this is the first floor, then there is a risk that the partitions will be in a terrible state, since over a long period of operation, the load of the upper floors has negatively affected the structure of the walls. And this is already fraught with destruction in the literal sense of the word. Therefore, for inspection, it is recommended to remove all old coatings. If deep cracks are found on the surface, then you cannot do without the help of specialists. The fact is that here you need to install special brackets that will prevent destruction.
You can begin cleaning the surfaces once the wall’s texture permits you to avoid hiring professionals.
Removing old coating
Naturally, nothing will need to be broken in this situation, but it will require some skill to accomplish. You might require specific tools depending on the type of material used to cover the work area.
The following are possible options:
- Wallpaper. To clean you will need a bucket of water and a spatula. Wet the paper well using a spray bottle, roller or regular washcloth. The water is allowed to soak in for 10–15 minutes, after which a corner of the roll is pryed up with a spatula and they begin to remove.
- Whitewash. If the layer is thick, it will not be possible to wash it off. Therefore, it is removed in the same way as wallpaper.
- Old paint or plaster. In Soviet apartments, paint was often used as a coating for walls. It was applied in a thick layer, so it can only be removed with a chisel and hammer. Similar tools are used for plaster if it is not removed by soaking.
Elimination of defects
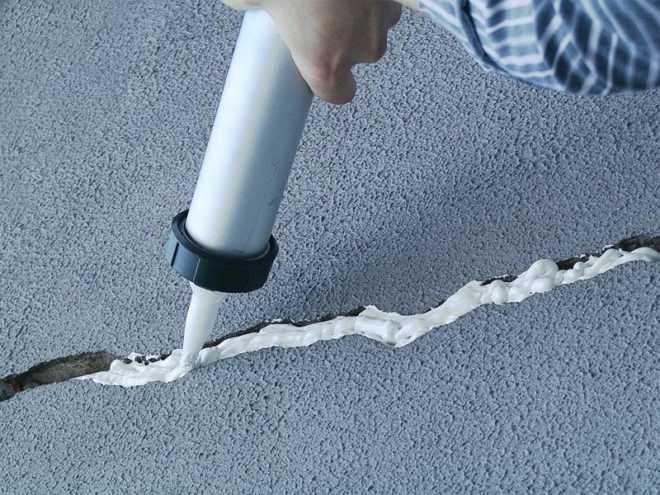
Checking for drops, cracks, crevices, and other defects on the inner wall is imperative as soon as the previous coating is removed. You will require the following supplies and equipment for liquidation: reinforced tape, spatula, and leveling mixture.
The entire task appears like this:
- the damaged area is completely cleaned and degreased;
- if the difference is up to 2–3 cm, then leveling is carried out using putty (it is recommended to carry out the work using beacons);
- when a crack is repaired, it is first well moistened with water, and then reinforcing tape is placed inside and 0.2–0.3 cm of putty is applied;
- It will take 2-3 hours for the wall of the house to dry completely, and then this area is cleaned using a grinding machine or a block.
Crucial! The mixture is applied to the surrounding surface in addition to the defect.
Alignment of walls
A level is needed to determine the extent of the variations in order to level the walls of a house. Using drywall is preferable if they are larger than 3 cm. You can work with large areas and create a perfectly flat surface by using sheets of material. It is true that this kind of wall preparation "eats up" the space that can be used because it necessitates installing a metal profile frame.
Curved walls undergo multiple stages of leveling:
- A primer is applied to the cleaned surface, which increases the level of adhesion, making the wall texture more susceptible to subsequent treatments. The primer also strengthens the base and protects the surface from the formation of fungus and mold.
- Next, 1 cm of putty is applied. This procedure is performed three times, with each layer allowed to dry for 10–12 hours.
- After this, the internal walls are plastered. This final treatment creates a perfect surface that is ready for painting or wallpapering.
Use the two-meter rule to determine whether the surface is even. There shouldn’t be any gaps between the surface and the tool, or if there are, they should be no wider than 2 mm, if the wall cladding was installed in compliance with all regulations.
| Common Issues | Repair Techniques |
| Cracks and Holes | Fill with spackling paste or joint compound, sand smooth, and repaint. |
| Dampness and Mold | Identify source, fix leaks, treat mold with bleach solution, repaint with mold-resistant paint. |
| Peeling Paint | Scrape off loose paint, sand area, apply primer, repaint with high-quality paint. |
Updating walls is essential to keeping your house secure and cozy. Correct wall repair guarantees both structural integrity and visual appeal, whether it’s addressing water damage, cracks, or just giving the place a new lease on life.
Immediate resolution of wall problems can avert future, more significant, and costly issues. Your walls can be kept sturdy and secure against weather and wear with routine inspections and timely repairs.
It’s crucial to select the appropriate tools and methods when repairing walls. Matching materials and finishes guarantee a seamless repair that complements your current decor, whether you’re replacing damaged sections or patching tiny holes.
Recall that structural problems or extensive damage may call for expert assistance. The longevity and value of your home are increased when you work with a qualified contractor to ensure that repairs are completed correctly.
We go over doable solutions for common problems in your home, such as cracks, moisture, and damaged surfaces, in our guide to wall repair. The goal of this article is to provide homeowners with practical solutions for repairing walls to their original strength and beauty, from determining the underlying causes to selecting the appropriate materials and techniques. Whether you’re doing small fixes or more extensive remodeling, knowing these techniques will help you keep your home appealing, long-lasting, and secure.


