
Sometimes the living room loses its cosiness and freshness. It is not necessary to undertake a long and expensive renovation to fix this. Often, a single weekend and a few small but thoughtful changes are enough to breathe new life into a room.
These instructions are just about such a quick and effective renovation. We will not break walls or change floors. Instead, we will focus on what will give the maximum visual effect with a minimum of time and effort.
Just follow the steps that will help you refresh your space: from decluttering and choosing a new accent color to rearranging furniture and adding details. You'll be amazed at how much your living room will transform in just a couple of days.
Step 1: planning and drawing up an estimate
The duration of the renovation largely depends on how competently the project is designed and the work plan is drawn up. In this matter, it is better to trust the professionals—as a result, you can save both time and money. Of course, you need to take into account that you will have to pay extra for the urgency of the project.
However, you can also tackle the project yourself. Get your household involved in the process: the whole family should like the new living room. Make a plan together and think through the details—from the placement of furniture, appliances, and air conditioning to the color and type of finishing materials. It is almost impossible to calculate the final cost estimate right away—leave part of the budget for additional expenses.

Step 2: Preparing for repair
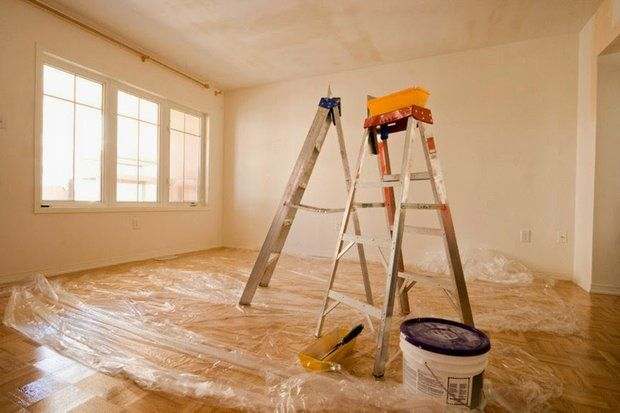
For simple cosmetic repairs, there is no need to remove all furniture and interior items from the living room. It is enough to cover them with protective film. If a major renovation is planned, furniture and items from the living room can be temporarily moved to other rooms or placed in the hallway.
Don't forget to turn off the power before starting repairs. It is best to note which tools you will need in the plan opposite each stage of the work. Remember that high-quality tools can significantly speed up the process. Some construction companies offer tool rentals, which will help you save money and time on shopping trips.
Step 3: Replacement
Start the repair with the planned replacements. The most difficult and dirty work should come first: replacing windows, doors, radiators, demolishing walls, replacing floors. At this stage, it is advisable to check the reliability of the room's electrical system and replace it if necessary.
Plan the location of sockets and switches in advance, depending on the lighting scenario. Hiding wires in a suspended ceiling is very convenient, but according to experts, it is safer to do it the old-fashioned way—in the wall.

Step 4: Leveling surfaces
The secret to quick and easy finishing work is perfectly flat and well-prepared surfaces. The easiest way to level them is to cover them with drywall. Installing it is less problematic and more efficient than traditional plastering.
Plasterboard also opens up a wealth of opportunities for bold design ideas: it can be used to easily create convenient niches, shelves, and racks, cover radiators, and build arches. But don't forget: installing plasterboard takes up some of the usable space, which can have a negative impact on the interior of small rooms.

Step 5: ceiling repair
The fastest but not the cheapest way to repair a ceiling is to use stretch fabrics. The work will take the craftsmen a maximum of half a day. Then all that remains is to refine the smooth surface with ceiling moldings or stucco. By the way, matte ceilings are preferable to glossy ones for rooms on the sunny side.
The most economical and no less efficient option is to decorate the ceiling with wallpaper. However, it can only be applied to a perfectly flat surface, and it does not last very long. In new buildings, experts do not recommend painting or whitewashing the ceiling: the house may shrink, which will cause cracks to appear.
Plasterboard structures are heat-resistant, inexpensive, and easy to install, but you will have to give up a few centimeters of space.

Step 6: Wall finishing
Among all types of wall finishes for the living room, the simplest and therefore the fastest are wallpaper or paint. Fans of the loft style can save time by leaving one or two walls completely untreated. If you have not yet decided on the interior style, at this stage, choose light, neutral, matte colors for the walls: they blend harmoniously with any style.
An original wall design can be achieved using decorative plaster, which has become popular in recent years. It can be applied quickly and easily using a spray method, but this requires the necessary skills and practice. More unusual finishing options, such as glass, stone, mirrors, and textiles, will take much longer. However, they can be used partially to accentuate one of the areas of the living room.

Want your living room to look fresh and cozy, but don't have the time or money for a major renovation? No problem — you can update the room in a couple of days with minimal investment. Just remove the clutter, wash the windows, repaint the walls, change the curtains and furniture covers, add a couple of new accessories, and the room will take on a whole new look. The main thing is to start simple and not try to redo everything at once: one step at a time, and the result will be noticeable by the evening.
Step 7: Finishing the floor in the living room
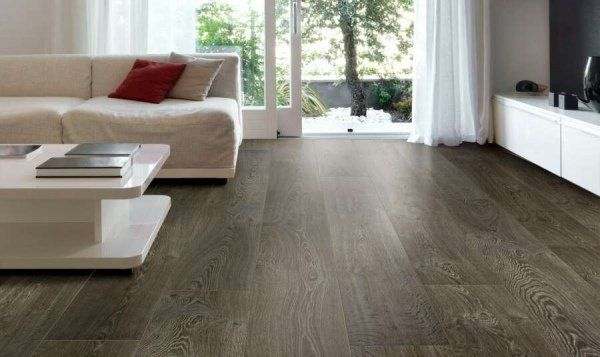
The flooring in the living room, like the room itself, should make an impression — it is advisable not to skimp on materials. The most popular flooring options for the living room are laminate or parquet. The former is the easiest to install and maintain. You can lay it without the help of specialists, but don't forget about soundproofing underlayment. Parquet flooring will take more work, but it will look more respectable.
If you need to save as much time and money as possible, choose high-quality and practical linoleum or carpet. Both are easy to install and maintain. However, only professionals can quickly lay eco-friendly cork flooring, which is becoming increasingly popular. And it is not cheap. The same applies to self-leveling and marble floors.
Step 8: Install lighting
Lighting plays a special role in living room design. You need to consider at least two scenarios—daytime and evening. If you don't want to bother with installing spotlights and hidden lighting, leave one original chandelier on the ceiling with several light modes or a dimmer installed. A wall sconce or a spectacular floor lamp will be an excellent addition to it.

Step 9: Furniture placement
Plan the furniture layout in advance, taking into account proper zoning, especially if the living room is the only living room in the house. But a lot depends on its size.
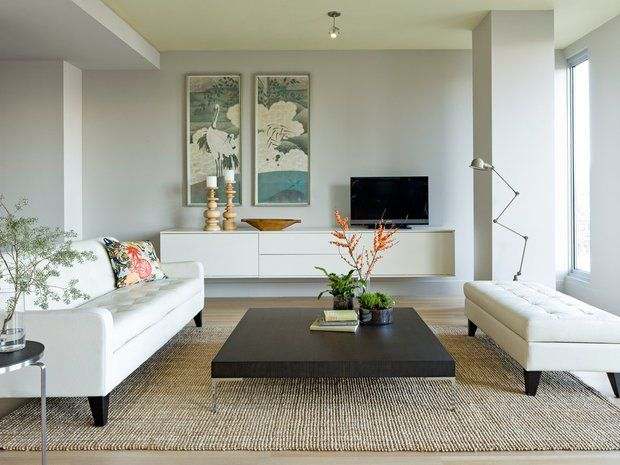
In a small living room, you can do without certain types of furniture to preserve free space and save time on arranging it. For example, you can get by with two armchairs or a sofa and a small (preferably folding) table. To avoid wasting time assembling a complicated, bulky wall unit, opt for a lightweight TV stand and open shelves along the wall.
Step 10: Room decor
When designing your living room, try not to clutter the space and use every inch wisely. Opt for a few accent pieces and large items rather than lots of small details: a floor lamp, mirror, wall panel, rug, throw… This will help you complete the task much faster and avoid overdoing the decor. Focus on high-quality, beautiful textiles. Don't forget to freshen up the interior with at least one live plant.

As you can see, quickly renovating your living room is a completely realistic task. The main thing is not to try to do too much, but to focus on the most noticeable things. Fresh paint on the walls, new textiles, and well-thought-out lighting can work wonders.
Don't be afraid to experiment with details. Even a simple rearrangement of furniture or new framed pictures can completely transform a space. Remember that the goal is not a perfect renovation from a magazine, but a room where you and your family will feel comfortable.
Start small, follow the instructions step by step, and very soon your living room will shine with new colors. Good luck with transforming your home!


