
Homeowners frequently have to deal with holes in their walls, whether they are the result of renovations, old fixtures, or unintentional damage. Even though these imperfections can be ugly, there are efficient ways to fix them and give your walls their original, smooth appearance again.
Simple tools and materials that you may already have at home can be used to quickly repair small holes caused by nails or screws. The process of fixing larger holes might seem overwhelming, but with the right strategy, you can get results that look professional without hiring a contractor.
This post will walk you through a variety of wall-patching techniques, from the easiest to the more complex ones. Regardless of your experience level with home improvement, you’ll find helpful tips and detailed instructions to assist you in solving this typical issue.
You can fix those holes and restore your walls to their former splendor with a little work and the appropriate knowledge. Let’s investigate the most effective approaches to fill in those holes and produce a flawless finish.
- Causes of holes
- Filling holes in concrete and brick walls
- Small chips and damage
- Big holes
- Through holes
- Cracks at joints
- An alternative method is polyurethane foam
- Repairing holes in drywall
- If the damage is minor
- If the hole is large
- When is a patch required?
- Video on the topic
- How to repair a hole in a concrete wall?
- How to repair a HOLE in drywall
- How and with what to seal through holes in a concrete wall. In one approach.
- An easy way to fix a hole in the wall. Fast and easy.
- EVERY MASTER SHOULD KNOW ABOUT THIS! What to do if, when drilling a hole in the wall, you get into a void
- Sealing grooves using technology. Various methods and errors.
Causes of holes
In order to prevent a recurrence of the same issue, it is important to comprehend the causes of the hole before attempting to seal it.
When the homeowner tears off the plaster or wallpaper during renovations, they discover that the wall appears to have been shot at. Additionally, the "attacker" has access to a variety of calibers, each of which will deal different damage:
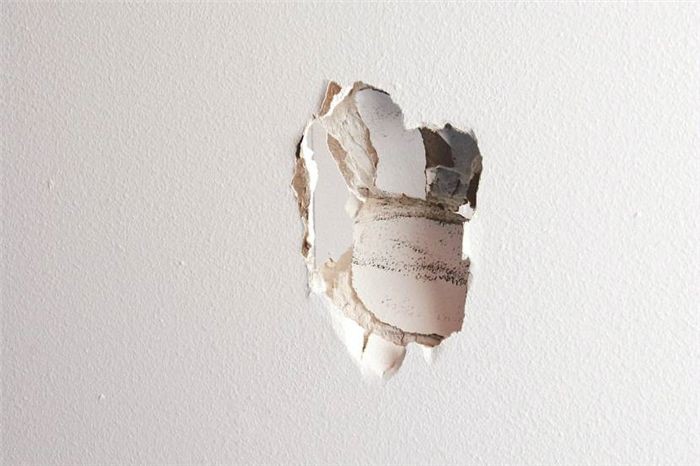
- Little ones. They appear from hammered nails, dowels or from mechanical impacts.
- Large. In places where there was a socket or other devices built into the wall, more damage appears.
- End-to-end. Appear in places where communications passed, or when the wall gradually collapsed under the influence of mechanical factors.
- Cracks at the joint. Often appear in old houses where the foundation has already subsided. The cause of the cracks may also be a neighboring building, which creates vibrations.
Furthermore, the extent of the damage varies; over time, a tiny chip could develop into a crack running the length of the room’s wall. Filling the hole must therefore be done as soon as possible.
The materials of the wall also affect the repair procedure. Certain techniques work well with brick and concrete, while others work well with drywall. Repairing wooden walls involves certain subtleties as well.
Filling holes in concrete and brick walls
Since brick and concrete adhere well to one another, you can handle the issue on your own with a few basic tools and supplies. The size of the hole in a concrete wall determines how to fix it.
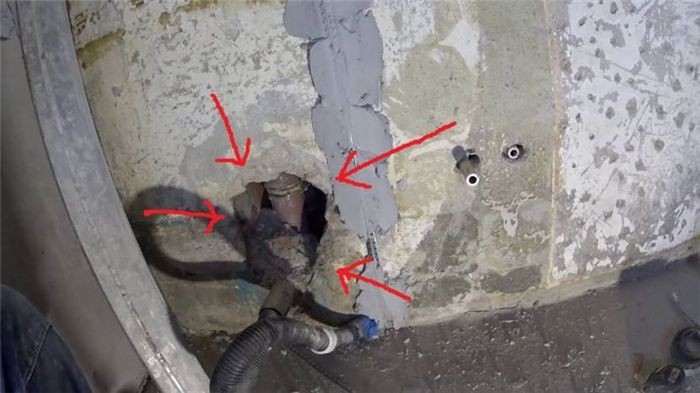
Small chips and damage
You must first get ready the following equipment and supplies:
- vacuum cleaner (construction or household);
- small spatula;
- a piece of foam rubber;
- small brush;
- gypsum composition or alabaster;
- sandpaper.
Prior to beginning any repairs, the damaged surface must be prepared. It is necessary to remove any dust, plaster fragments, and other debris from the hole. The next step is to get a sealing solution ready. It can be purchased already made, and in the case of the dry version, the package will typically list the suggested ratios.
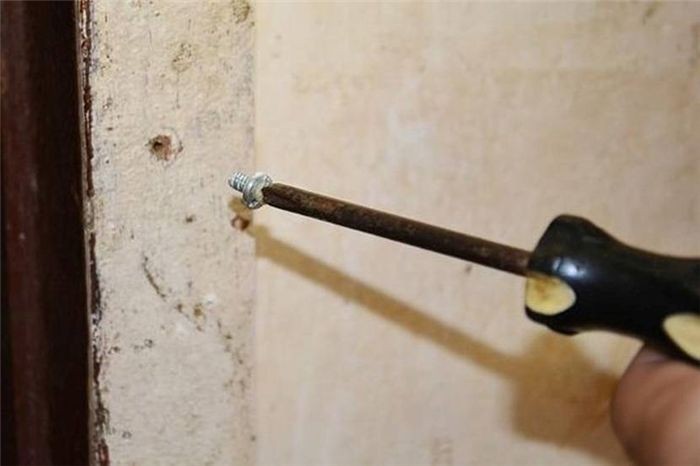
If a dowel or screw caused the gap and it is still inside, it needs to be taken out. Following that, you can start the repair:
- The hole needs to be widened slightly so that the mass penetrates deeper into the structure.
- The first stage creates additional debris that needs to be removed with a vacuum cleaner.
- Use a damp brush to treat the damaged area so that the repair compound does not absorb excess water.
- Using a spatula, apply plaster or alabaster and rub it into the damaged area.
- You need to leave the solution to dry (the approximate time is also indicated on the packaging of the material), and sand the surface with sandpaper.
Ultimately, all that’s left to do is apply camouflage techniques, paint the area to match the wall’s color, apply wallpaper, or apply another finishing material.
Big holes
People are also frequently curious about how to fix a hole that reaches or even exceeds 5 centimeters in size in a brick or concrete wall. The truth is that regular putty won’t hold up against damage this severe for very long and will eventually start to crack.
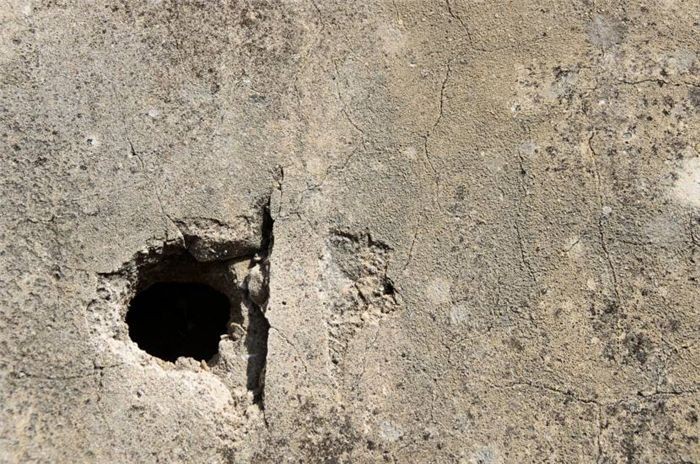
It is preferable to use cement or gypsum mortar; you can also use building supplies to fill in the damaged area. The same instruments are needed as for sealing tiny chips; the bigger spatula is the only difference.
To dilute cement to fill in wall holes, mix one part cement to three parts sand. Stir the dry ingredients well and gradually add water while stirring continuously.
- The first step, as when processing small holes, is to clean the hole from dust and debris.
- After this, the damage is wetted with a foam sponge (so that the concrete does not absorb moisture from the solution).
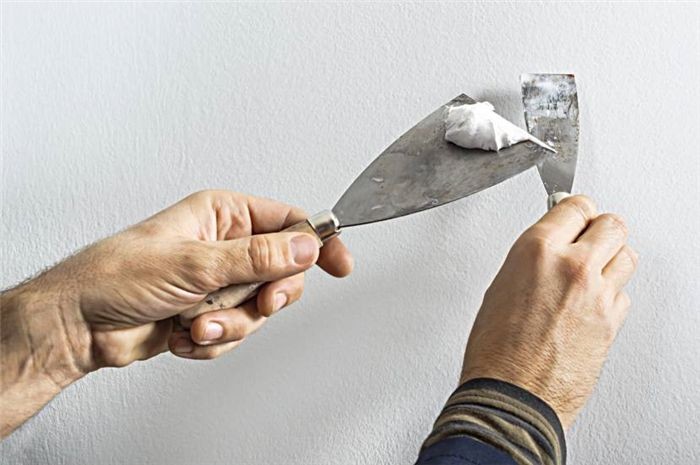
- Using a spatula, the prepared solution is applied inside (if the hole is too large, it can first be filled with a brick or a piece of foam plastic).
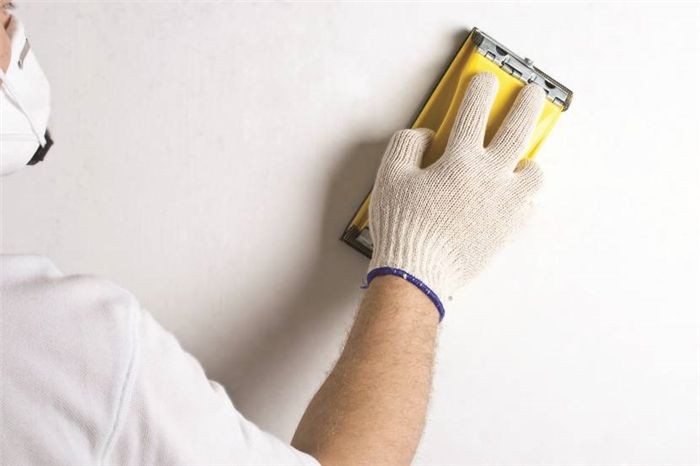
- The wall section needs to be leveled and, after drying, also sanded.
Painting or wallpapering the wall will be the last step, but it’s best to wait because once the solution dries, it might cover in tiny cracks, requiring another coat of plaster.
Through holes
This section of the article will assist you in finding the solution if you’re wondering how to hide holes in the wall if they’re through. While the procedure is comparable to fixing regular chips, there are some differences, particularly when dealing with large through holes.
Although it is best if you can access the damage from both sides, you will need to put in some extra effort if you can only access it from one. As with earlier techniques, you must first clean the surface and moisten it just a little.
Guidelines for carrying out the task:
- The hole must be filled with stone or brick.
- If access to the damaged area is only on one side, then it is worth driving several dowels into the wall, which will become a supporting structure.
- You need to fix the stone or brick with cement mortar and leave it to dry.
- After this, the hole is no longer through and is covered in the usual way: filling with mortar, drying, sanding, finishing coat.
Cracks at joints
Although wall cracks are a more serious issue, you can fix them on your own. First, the experts recommend aligning the edges of the channels and widening them slightly with a grinder before applying a primer to the crack. There are numerous choices for materials that work well in these circumstances.
How to hide gaps at the joints in a concrete wall:
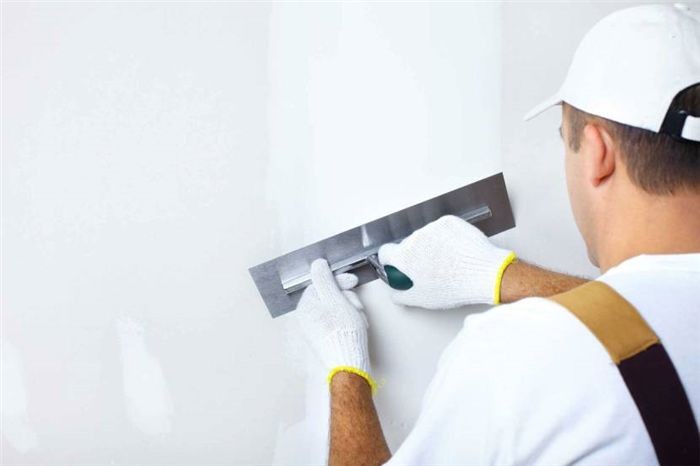
- Sand-cement mixture with lime. First you need to dilute the solution and fill the channel on the wall with it. A construction mesh is laid over the already sealed crack (both steel and plastic can be used). After this, the place is plastered and sanded.
- Waterproof composition based on concrete and paint. Cement should be added to the paint in small portions and stirred constantly. When the consistency of the solution resembles sour cream, it can be used to fill the hole in the wall.
- A mixture of wood glue and chalk powder. When mixing these ingredients, you also need to stir them constantly until you get a thick mass. This is what fills the crack in the wall.
Increased adhesion and moisture resistance are characteristics of these three options. This is crucial to remember when treating cracks because they compromise the structural integrity of the building in addition to causing aesthetic issues.
An alternative method is polyurethane foam
Polyurethane foam is frequently mentioned as the best solution when asked how to hide wall holes. There is an alternative method used for sealing large, through holes and cracks, but all previously described methods involved the use of gypsum or cement compounds.

Usage guidelines:
- As with other methods, the first step is to clean the damaged area from dust and debris.
- You need to fill the hole with polyurethane foam, applying it from bottom to top.
- At the same time, you need to remember about expanding the composition and not filling the pothole more than halfway.
- When the foam has expanded and dried, its excess part needs to be cut off with a stationery knife, but not level with the wall, but a little deeper.
- The hole filled with foam is covered on top with a repair gypsum or cement composition and puttied.
- At the finish, all that remains is to sand the surface well and paint it.
Because of its characteristics—namely, its durability and resistance to mold and moisture—polyurethane foam is a good material to fill wall voids. This material can be used on a balcony, although it is best to use a specific type of frost-resistant polyurethane foam in this area.

There are a number of efficient techniques for patching holes in walls that can help you get your walls back to how they were with the least amount of trouble. Options like spackling paste for minor repairs, drywall patches for larger damage, and even mesh repair kits for medium-sized holes ensure that anyone, regardless of skill level, can achieve professional-looking results, whether you’re dealing with small nail holes or larger gaps. This tutorial will take you step-by-step through every technique while offering advice and pointers to make the repair process simple and stress-free.
Repairing holes in drywall
Due to the fragility of plasterboard, even minor mechanical impacts can cause damage, so the question of how to cover a hole in a wall is frequently asked.
If the damage is minor
Small chips can be sealed with sealant instead of being treated with cement mortar or putty. It’s vital to remember that an acrylic version works better than a silicone one because it’s easier to paint in any color you want.
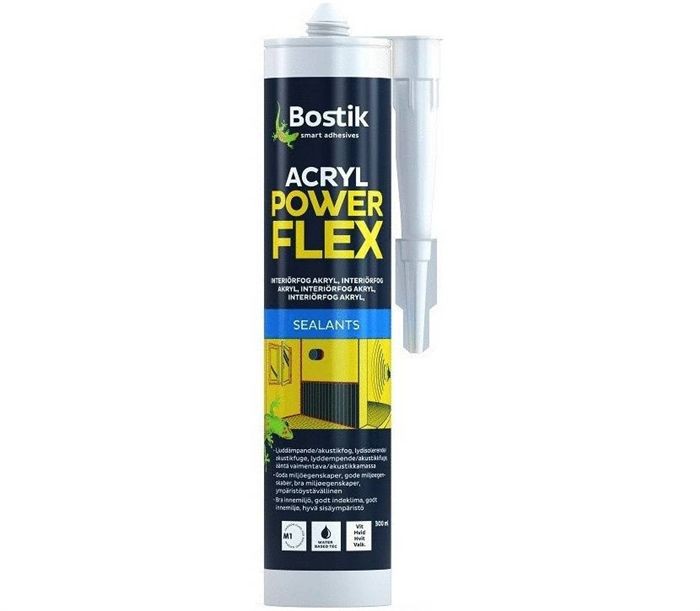
- Use a sealant gun to fill the damaged area.
- The material that has come out of the hole is smeared with a spatula.
- If the material has sagged, you need to fill the hole with an additional portion.
- Leave the material to dry for a day.
Sanding the drywall to make it smooth and even is all that needs to be done the following day.
If the hole is large
If the hole is big enough, you should also determine what to use to seal it because sealant won’t work in this case. Putty will be required.
Methodical approach to completing the task:
- Removing the chamfer and protruding paper near the damaged area. A stationery knife can be used for these purposes.
- Priming the hole. For this, a small brush is used, with which you can cover the hole with primer on all sides.
- Caulking the hole. After the primer compositions have dried, the damage must be filled with a gypsum or cement mixture.
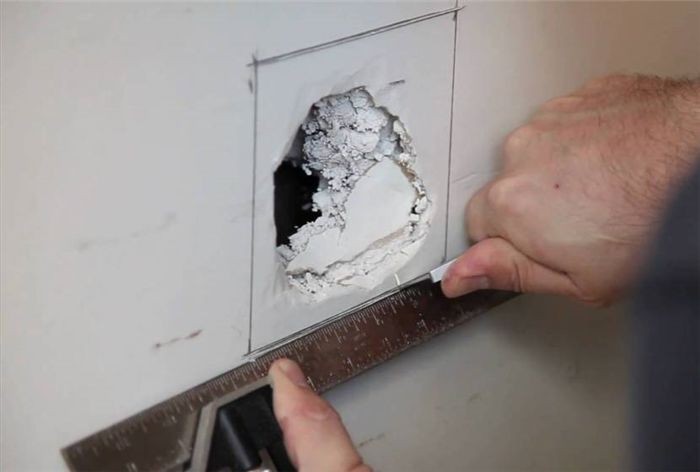
- After the mixture has dried, you need to sand the repaired area well with sandpaper.
- After this, using a stationery knife, you need to draw (cutting off only the top layer of paper) a rectangle 15 by 10 cm, in the center of which there will be a hole.
- Paper is removed from the surface of the entire rectangle. To do this, just pry up one of the corners and tear off the top layer.
- The layer of gypsum that was under the paper is covered with a primer.
- After the primer has dried, a construction mesh is glued to the surface of the triangle.
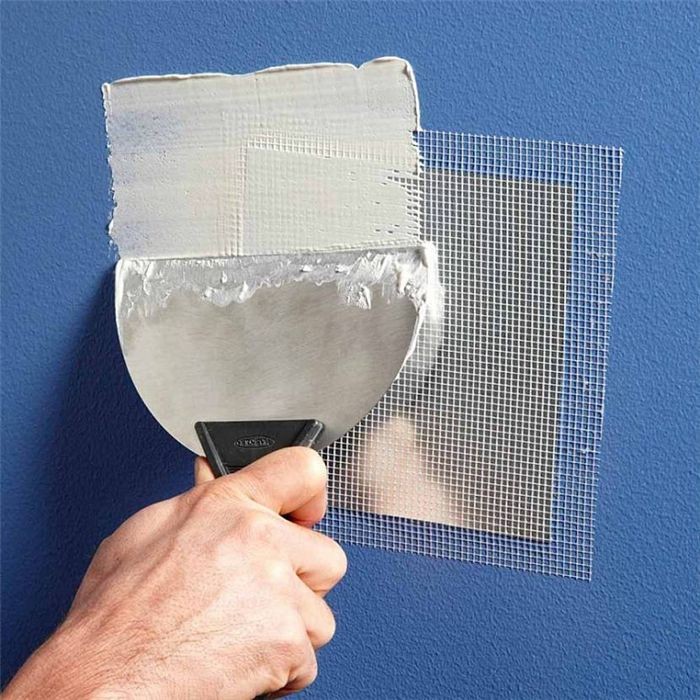
- Plaster is applied over the mesh.
- After it dries, all that remains is to sand the wall.
Even though it requires a little more work, the plaster mesh method can greatly strengthen the damaged drywall area.
When is a patch required?
A special material called drywall allows you to create perfectly smooth walls in your house. But the sheets’ brittleness is a disadvantage as well.
Serious damage can happen if you move furniture against a wall or hang an overly heavy shelf. There will simply be a wall break. However, the material’s inherent qualities suggest that a plasterboard patch can be used to fix a hole in the wall.
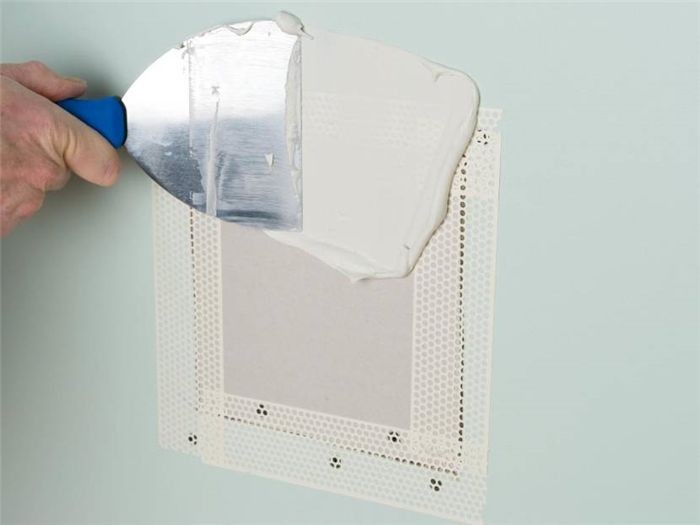
- Draw a rectangle around the resulting hole.
- Cut it out with a knife.
- On the back side of the wall you need to screw two wooden or steel strips.
- It is necessary to cut a patch from a piece of drywall to the size of the damaged area.
- Insert the cut piece into the wall and secure it to the planks using self-tapping screws.
- On the patch itself and in a small area around it, the paper is removed and the material is primed.
- First, the joints between the patch and the main part of the wall are filled with putty.
- After the joints have dried, the entire surface of the damaged area is puttied.
Ultimately, all that’s left to do is paint and sand the wall throughout the repaired section.
| Method | Description |
| Spackling Paste | Apply spackling paste to small holes, smooth it with a putty knife, let it dry, then sand it down. |
| Wall Patching Kit | Use a patching kit for larger holes; it includes a patch, adhesive, and compound to cover the hole. |
| Drywall Repair Tape | For cracks or small holes, apply drywall repair tape, then cover it with joint compound and smooth it out. |
| Mesh Patches | Stick a self-adhesive mesh patch over the hole, apply joint compound, let it dry, and sand it smooth. |
| Wood Filler | Fill holes in wooden walls with wood filler, let it harden, and then sand it to a smooth finish. |
It’s not always a difficult task to seal off holes in walls. Even if you’re a do-it-yourself enthusiast, you can still produce results that look professional by using the appropriate tools and techniques. Whatever the size and type of damage, each technique offers a customized solution, from tiny nail holes to wider gaps.
Spackling paste and a putty knife are frequently all you need for small imperfections like nail holes or tiny cracks. To achieve a seamless finish, just fill the hole, smooth it out, and sand it down after it dries. Greater holes might call for more substantial fixes, like replacing a portion of the wall or applying drywall patches. Although these techniques may appear more difficult, most homeowners can handle them with step-by-step instructions.
Selecting the appropriate materials is essential for a durable repair. Before beginning your project, make sure you have high-quality spackle, patch kits, and the required tools. A smoother repair process can also be ensured by taking the time to properly prepare the wall, which includes cleaning the area and getting rid of any loose debris.
In the end, filling in wall holes as soon as possible will help to avoid more problems and preserve the aesthetic appeal of your area—regardless of how minor the damage is. By using the techniques described in this article, you’ll be prepared to handle these repairs quickly and skillfully.


