

Foam plastic plastering is done outside of the "wet facade" complex as well. When maintaining and repairing a private residence, the foam plaster must be closed. This also applies to the intricacies of repairing an apartment next to the house’s exterior wall (hall, loggia, etc.). The question of how to plaster polystyrene foam or its more resilient modification, penoplex, is one that is frequently posed.

- Types of foam plastics for plaster
- Preparing penoplex for plaster
- Penoplex plaster on the facade
- Video on the topic
- Mold and rodents in polystyrene foam?! We disassemble the facade!
- facade design decorative plaster on polystyrene foam.
- consequences of foam insulation
- Opening an incorrectly executed facade, the technology of insulation and finishing of facades was violated
- thick layer of foam plaster
Types of foam plastics for plaster
PPS, an acronym for expanded polystyrene, is also used to refer to polystyrene foam. Naturally, it is preferable to use extruded EPS (durable and dense; it’s not by accident that the top manufacturer produces EPS under the Carbon brand) rather than regular polystyrene foam for the facade (as well as for the foundation, basement, etc.). Although birds and mice do not mind living in foam plastic, EPS is smooth, plastic, elastic, dense, lightweight, and bio-inert (does not serve as a home for microflora).
For reinforced plaster with highly adhesive compounds, cheap pressless PPS is not a good idea, but there is no other way. Bad PPS can occasionally crumble during fastening, even with skilled craftsmen, and then keep crumbling inside the wall pie beneath the plaster layer. This causes the dew point to shift and all of the insulation to be lost. Consequently, no professional would advise skimping on polystyrene foam—especially since it’s a cheap material.

Preparing penoplex for plaster
The preparation is the same as for any other wet process that relies on the solution’s strong adherence to the base: dust the foam, clean it of dirt, and, if required, rinse the wall with water. Since the reinforcing mesh must be fixed in the solution layer, there is no need to dry it. In addition to being slightly moistened before a layer of solution is applied, extremely high-quality, smooth, dense EPS is also passed, notched, or scratched with a needle roller to increase the adhesiveness of the solution to the base.

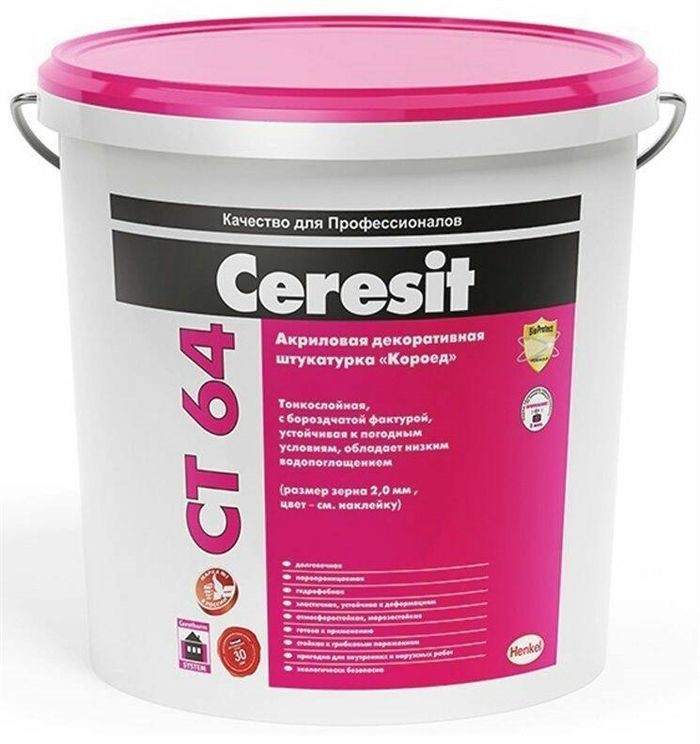
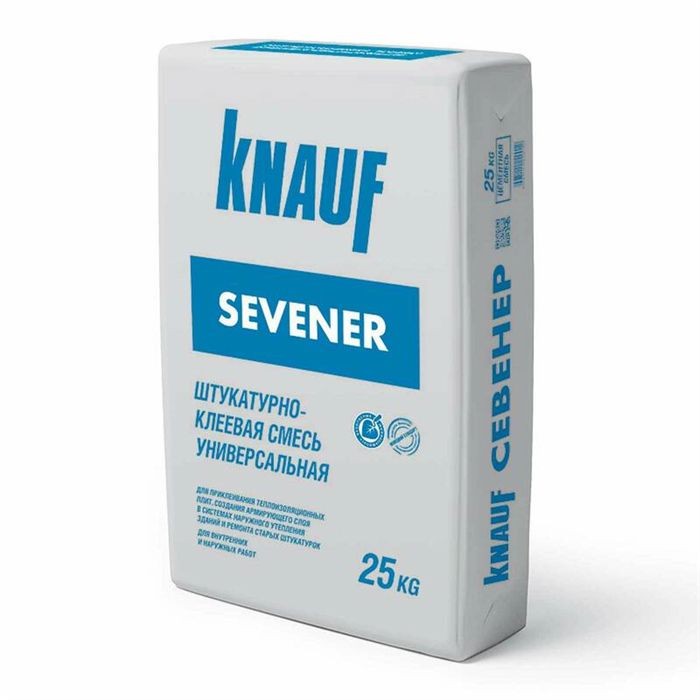
Well-tested PPS plaster compositions, such as the well-known Ceresit, Stromix, Ekomix, and numerous others. It is crucial that additives to improve adhesion, ductility, and strength be included in special formulations. Special PPS plasters can be classified as universal, protective, or decorative, and all have a mineral or synthetic base. Additionally, there are unique mixtures for attaching PPS to the base. principal kinds of ready-mixes:
- Acrylic – optimal for deformable bases, retain elasticity for years. They repel water and steam, are not afraid of ultraviolet radiation, and retain their decorative properties for decades. When applied skillfully, acrylic plaster lasts 25 years or more.
- Silicate – even more elastic and completely resistant to moisture, while being vapor permeable (ideal for internal PPS plasters). Exterior decoration meets all PPS protection requirements, plus excellent facade decor.
- Mineral – with Portland cement and polymer components, plastic and durable, not afraid of atmospheric negativity, bioresistant.

Penoplex plaster on the facade
A unique mixture and reinforcement with reinforcing mesh are two prerequisites that must be met. The procedure is the same as it always is:
- They work in warm, but preferably not hot and windless weather, with a humidity of no more than 65%, the optimal temperature range is from +5 to +30˚С;
- Preparation, cleaning, dust removal of the EPS base;
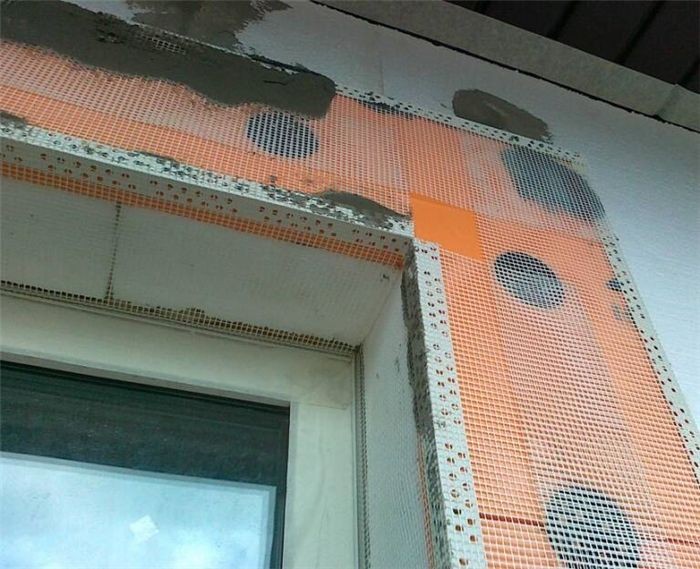
- Applying a thin layer of mortar and embedding a plaster plastic mesh with a density of 160 g/m2; The same mesh, bent with a corner, additionally protects the corners and architectural details of the facade. A plastic corner should be attached to the outer corner of the slope along with the mesh.


Huge spaces are covered with 1-1.5 m-long cut mesh pieces; unwinding the mesh from a roll allows you to glue it together while working together. It won’t hurt to add a strip of reinforced mesh to a corner or seam if there is any doubt about the strength of the reinforcement. When the mesh edge enters the foam board joint, the same procedure is followed. Penoplex plaster is best reinforced with mesh and perforated plastic corners.


Certain compositions (decorative coarse-grained plasters, large bark beetles, etc.) do not require the reinforcing layer to be leveled. Next, depending on the kind of mixture and the desired design, apply the primary leveling for painting or decorative;
We go over the crucial procedures and factors to take into account when plastering over foam insulation boards, which are frequently used in building and remodeling projects, in our guide to plastering on foam plastic. This post attempts to offer useful advice and tips for both professionals and do-it-yourselfers, covering everything from surface preparation and plaster material selection to smooth finish techniques and achieving a long-lasting and successful plastering job on foam plastic surfaces.
Important note: special adhesive additives are already present in the mixture; foam plastics are never primed for plaster with a different composition. However, strengthening will never be unnecessary. A mixture like concrete contact or Ceresite is applied to the PPS if the builder determines that strengthening is required in the finishing area, where local loads may be present due to design features, or because this is the area in contact with the entrance group, among other reasons. Proceed as usual to fix the reinforced mesh.


